Just a blog about my adventures and mishaps in life.
Expect things like recipes, art, ways to save money,
fashion, creativity, beauty, babbling and randomness.
Follow Me on Pinterest

Wednesday, June 20, 2012

Cleaning Your Carpet (Without a Carpet Cleaner)

You can get your carpets "company-ready" without a carpet cleaner or a lot of effort with just a few simple tools. This will save you so much time and money, and you don't have to wait hours for it to dry! I use this method to make my carpet look brand-new even though it's over 6 years old.
Here's what you'll need:
Vacuum

Carpet Rake
(buy this at Home Depot or any home improvement store for around $10)

Brush with a Handle or Sponge Mop
(Walmart)

Carpet Cleaning Foam
(Bissell is 1/2 the price of Resolve where I live but you can use any brand)

If you have pet stains you'll also need this:

Here is what the carpet looked like prior to cleaning. I removed most of the furniture. It's actually worse than the pic shows. It is somewhat matted and has some pet stains. (Click on it to enlarge)
First, vacuum your carpet thoroughly, use an attachment if you have one to get along the wall. I started out only doing half of the room so that I could show the difference.

If you have pet stains, spray the pet stain remover on them heavily enough to saturate, blot, and brush in.
Here's what mine looked like before starting:
And the same spot after the entire process:


Starting at a far corner,spray a light mist of cleaner to about a 2ft x 3ft section. Use a slightly heavier spray on stains.
After the spray has set for a minute, use the brush (or sponge mop) to somewhat gently rub it into the carpet. You don't want to be too harsh, but you want to make sure that it's getting into the fibers. Go in at least 2 directions. Then simply move on to the next section until your entire room has been sprayed and brushed in.

It will probably look something like the left side of this pic
Now let the carpet dry. It will take around 15 minutes to 1/2 hour depending on how heavy you sprayed. Once dry, vacuum again.
Now, start back at the far corner and rake. You want to make sure that you're only pulling the rake toward you, (not too hard), and only pulling back about a foot or less at a time. Go across the back and continue in this back and forth manner until you get to the end of the room.

(for some reason the camera decided to make the color funky
in this one, but you can still see the difference)


It took me about an hour to do the entire room and look at the difference!
(click to enlarge)
This is something that probably shouldn't be done more than
once every three months and I would still recommend having carpets cleaned professionally about once every 1-2 years.

Friday, June 15, 2012

Amazing Grout Cleaner

I used to be on this everlasting quest to find a good grout cleaner. As you'll see in some of the pics, I had given up on that quest long ago and decided to let the grout just become a constant dark brown instead of the light tan it was originally. I had tried every product and concoction out there. In fact I had tried everything I could think of, short of paying a professional.
So one day I saw a pic on Pinterest of a floor with half clean grout and half really dirty grout. I wasn't sure it would work on my grout because it's not sealed but I gave it a try.

Here's the formula:

7 cups warm water
1/2 cup baking soda
1/3 cup ammonia
1/4 cup vinegar

Now this much liquid didn't even close to fit into my tiny little spray bottle and it probably won't fit in yours either, so here is the recipe halved and quartered.

Halved
3 1/2 cups water 1/4 cup baking soda
2 Tbsp + 2 tsp ammonia
2 Tbsp vinegar

Quartered
1 3/4 cup water
2 Tbsp baking soda
1 Tbsp + 1 tsp ammonia
1 Tbsp vinegar

I used the quartered version for the pics below. I also wrote the formula on a piece of paper and taped it to the bottle. Make sure never to mix bleach with ammonia, you will die or something...

Here is the method:

First mix the ingredients and give the bottle a good shake.
Spray the grout (I started with 2 tiles at a time) and let the spray sit and absorb a little into the grout. Be generous.
Grab a grout brush, scrub brush, or tile brush with a handle and scrub the grout vigorously where the spray has been sitting. Don't get it in your eyes, trust me.
Use a clean damp rag to wipe each line of grout right after you scrub it to pick up all that dirty liquid, might be handy to keep a bowl or bucket of warm water nearby because you'll want to continuously clean the rag.
Depending on the color of your tile, you may want to mop the whole thing when you're done because the baking soda may or may not leave some white residue. Personally, I mopped and towel dried the floor.

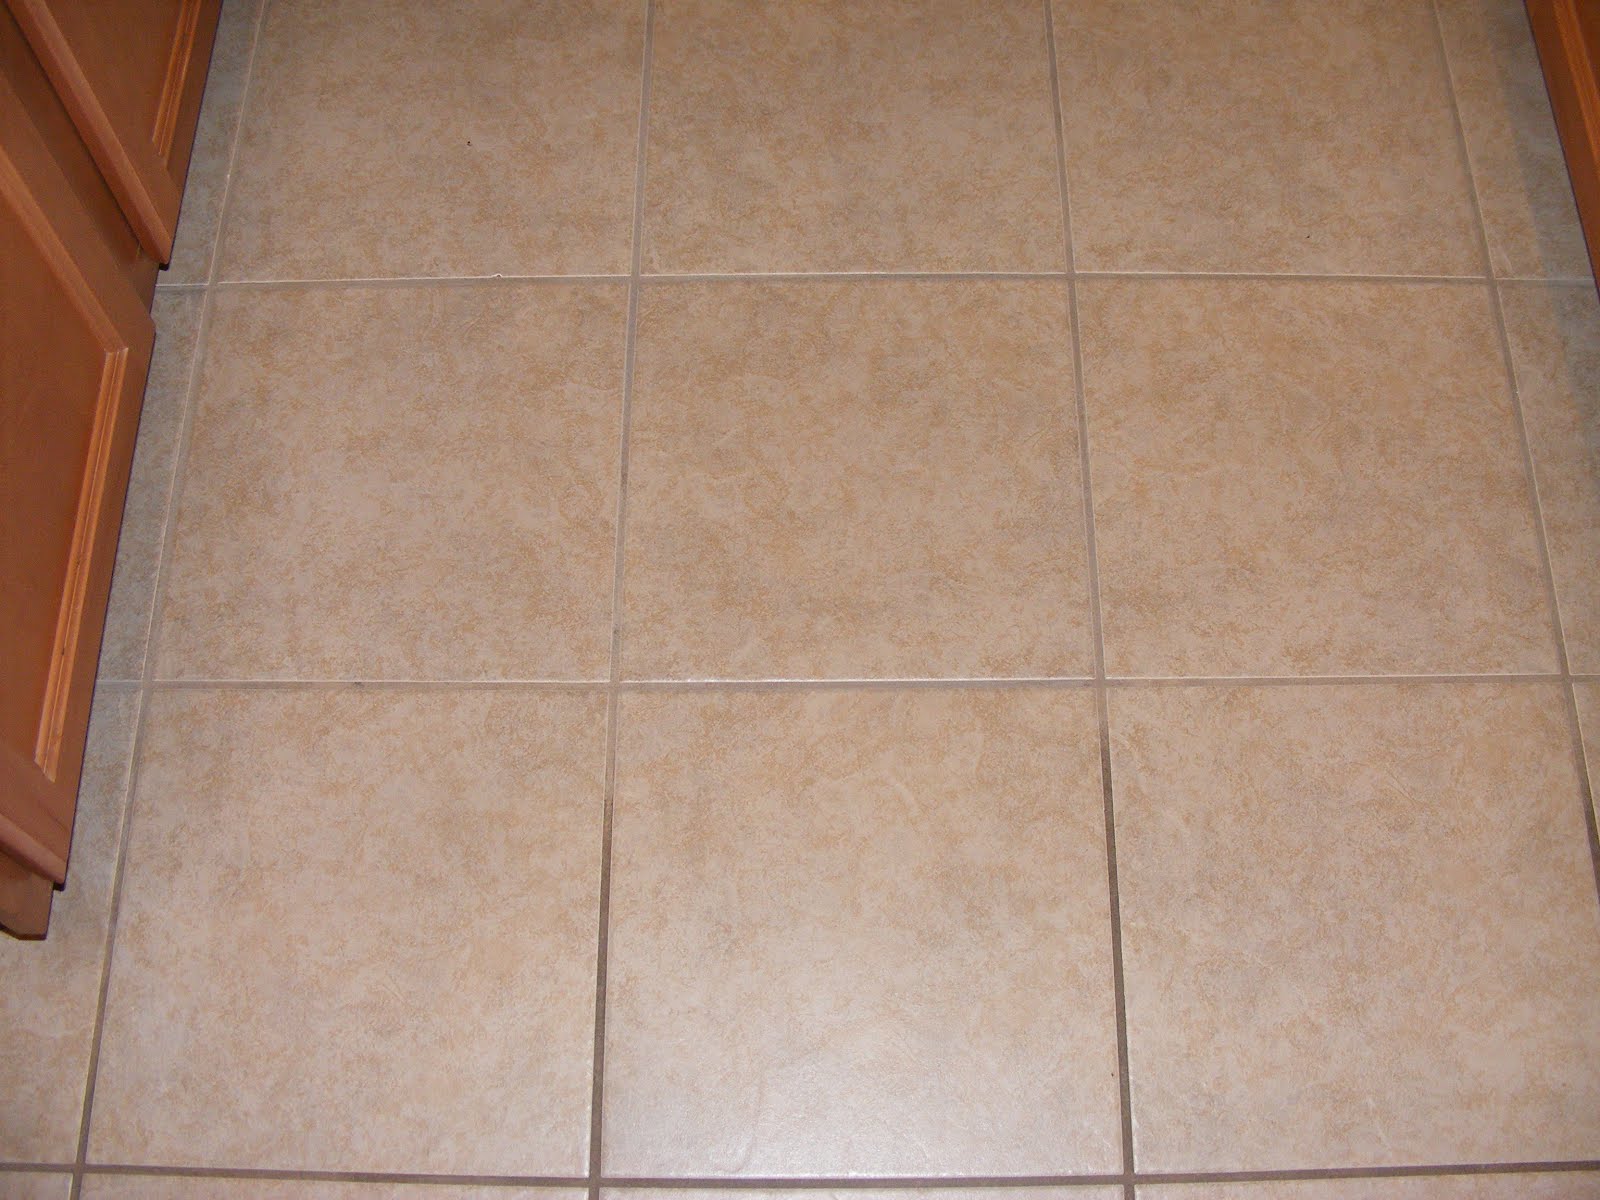
Here are the "before" pics
(Click for larger pic)
After one tile
Two sections

And finally, three sections

There are a few things to keep in mind when looking at these pics.

1. They're all the same 9 patch of tiles
2. The dark part of the grout in the pics is NOT wet. That's what it's gotten to in the last 4+ years. It's that dark! (and no, I'm not a dirty person, again we'll just blame it on the grout not being sealed)
3. I didn't mess with the photos in any way.
4. Also keep in mind that this 9 patch probably took me an hour. Now considering I have 700-800 square ft of tile, this is going to take some time. I'm going to look for some good grout sealer tomorrow before I do anymore.
If your grout is bad like mine and you can't (or don't want to) get on your hands and knees to scrub it, you could just spray it on and use a clean damp towel to rub off whatever came up. I guarantee that you'll still see remarkable results.

Also check out My Super Secret Freebies List

Thursday, June 14, 2012

Freezing Peppers and Onions


Bell peppers can be expensive! Red peppers were $1.99 each at my store the other day. $1.99 each and I needed five!
There's a little veggie market about 20 miles from me that sells them 5/$1 but it's not like I can just run out and grab them anytime I need to so I did some research a while back and learned that you can cut them and freeze them for up to 6 months.
First you need to wash them, cut the tops and bottoms off, and wash all of the seeds out. I cut mine 4 different ways:

1. Thick rings to use for cooking eggs in, (see below).
2. diced
3. Short strips
4. Long strips.

I used a large freezer bag and put the long strips on the bottom and the rings on top. Then I put the short strips and diced into two separate small bags.

Flatten all of the air out of the small bags, seal and put them inside of the large bags. Don't forget to add the date.
(Sorry for the bad pic, these had been in the freezer for a few minutes)

Stack them flat in the freezer for easy access and never be without bell peppers again! Keep in mind that you'll only want to use these for cooking, and you don't need to defrost them first.

You can also do this with onions:


Cook eggs in pepper rings.
Photo courtesy of Apron Strings

Thursday, June 7, 2012

Nail Polish & Beauty Organizer


I get a lot of beauty samples in the mail for free, I also subscribe to a few "beauty box" programs and I'm starting to become overwhelmed with products! I have so much that I can't even keep track of it all and I end up letting things expire or dry out before I even use them.

I've also developed this new found obsession with nail polish and again, have no where to keep it all, so here's the start to what I've come up with:
I found these "jewelry organizers" at Ross for around $13. The one shown here has 33 pockets on each side, (which isn't nearly enough, but it's a start). They have a few different sizes with different sized pockets and so on.
I chose these over the "caboodle" type cases because I need to see everything I have at once and I don't want to dig around for it. Plus they hang right in the closet or on a towel bar!

On a side note: If you do want a caboodle type organizer, do yourself a favor and buy a tackle box instead, they're cheaper, sturdier, and have more compartments. Yes, I mean a tackle box, like for fishing. (:


I just threw some stuff in the pockets so that you could see relative size. Eventually, everything will be organized in one way or another and I'll own about 4 more of these babies!

If you subscribe to beauty sample websites like Birchbox, Cravebox, Beauty Army, etc etc, or have a ton of nail polish, these organizers are a must-have! Let me know how you organize your small stuff...